Introduction
Desserts hold a special place at every gathering, and when it comes to fall favorites, pumpkin pie reigns supreme. But let’s face it—baking can be a hassle, especially when time isn’t on your side. Enter the no bake pumpkin pie, a creamy, quick, and flavorful twist on the traditional dessert.
In this article, we’ll uncover the secrets to crafting this no-fuss dessert, explore its origins, dive into step-by-step instructions, and even spice things up with creative variations. Whether you’re a seasoned baker or just starting, this recipe is your ticket to impressing friends and family. From ingredient essentials to pro tips, we’ve got you covered!
Part 1: What is No Bake Pumpkin Pie?
What Makes No Bake Pumpkin Pie Unique?
When you hear “pumpkin pie,” the first thought might be the warm, aromatic dessert fresh out of the oven. But no bake pumpkin pie? It’s the cooler cousin! This dessert skips the oven altogether, relying on a smooth, creamy filling that sets in the refrigerator.
Unlike the traditional baked version, a no bake pie trades heat for efficiency. It’s perfect for those who don’t have access to an oven or just don’t want to heat their kitchen. Plus, with its silky texture and spiced flavors, it satisfies all your autumn cravings without the hassle of preheating, baking, and waiting!
The Difference Between No Bake and Traditional Pumpkin Pie
Let’s dig into the key differences:
- Cooking Method: Traditional pumpkin pie requires baking to set the custard-like filling. No bake pumpkin pie, on the other hand, achieves its consistency through chilling.
- Texture: No bake versions tend to be creamier and lighter, thanks to whipped toppings or cream cheese.
- Time Efficiency: With no oven involved, you save time and energy, making it ideal for last-minute preparations.
A Brief History of Pumpkin Pie
Did you know that pumpkin pie traces back to colonial America? Early settlers embraced pumpkins for their versatility, turning them into hearty soups and desserts. Over time, the pie evolved into a fall staple, with spices like cinnamon and nutmeg defining its signature flavor. Fast forward to today, and the no bake pumpkin pie has emerged as a modern twist on this timeless classic.
Why No Bake Pumpkin Pie is Beginner-Friendly
This dessert doesn’t demand professional baking skills—just a good sense of timing and the right ingredients. Its simplicity and fail-proof nature make it a go-to recipe for new cooks. You can even get creative by trying unique crusts or adding playful garnishes like a dollop of whipped cream or a sprinkle of cinnamon!
Part 2: What is No Bake Pumpkin Pie?
What Makes No Bake Pumpkin Pie Unique?
No bake pumpkin pie is exactly what its name suggests—a pumpkin pie that doesn’t require baking. It features a creamy, spiced filling made from pumpkin puree, blended with other ingredients to achieve a smooth texture. Instead of using the oven, the pie sets in the refrigerator, making it a hassle-free dessert.
This version stands apart from traditional baked pumpkin pies in a few ways. The oven-baked kind relies on heat to set the custard-like filling, resulting in a firmer texture. In contrast, no bake pumpkin pie uses cream cheese or whipped topping to create a light, velvety consistency. It’s perfect for those craving pumpkin pie flavor without the long baking process!
Pumpkin pie itself has a rich history. Dating back to colonial America, it was born from settlers’ resourceful use of pumpkins, a native crop. Over the centuries, it evolved into the spiced, sweet dessert we love today. The no bake version, however, is a modern adaptation that simplifies this classic treat.
When it comes to flavor, the choice between canned and fresh pumpkin puree can make a difference. Canned pumpkin offers convenience and a consistently smooth texture, while fresh puree brings a slightly earthier, more robust flavor. Either works for this recipe, but consistency matters most.
Finally, what makes this dessert truly versatile is its simplicity. It doesn’t demand special tools or extensive baking experience, making it a fantastic option for beginners. Plus, it’s easy to customize with your favorite crusts, spices, and toppings!
Part 3: Ingredients for No Bake Pumpkin Pie
Essential Ingredients for the Perfect No Bake Pumpkin Pie
Main Ingredients

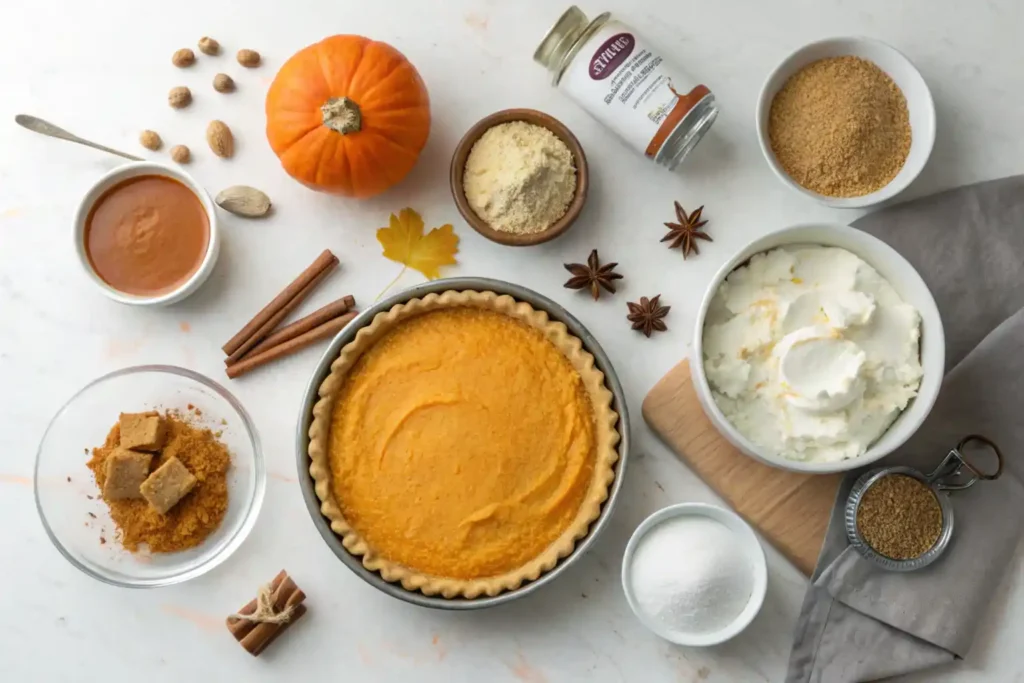
At the heart of any great no bake pumpkin pie lies pumpkin puree. Whether you use canned or homemade, this is what gives the pie its signature flavor and texture. Canned pumpkin is the go-to option for convenience, as it’s pre-cooked and finely pureed, ensuring a smooth consistency. If you have extra time, fresh pumpkin puree delivers an earthy, slightly richer taste that some prefer.
To create that creamy, melt-in-your-mouth texture, cream cheese or whipped topping is essential. Cream cheese adds a slightly tangy, velvety richness to the pie, while whipped topping lightens the texture for an airy finish. The choice depends on whether you prefer a denser or fluffier pie, but both work beautifully to balance the pumpkin flavor.
What’s pumpkin pie without the warm spices? Cinnamon, nutmeg, ginger, and clove are the stars of the show. Together, they create that iconic pumpkin spice flavor that screams fall. You can adjust the spice levels to your liking, but a balance between sweet and earthy is key!
Crust Options
The crust is the foundation of any pie, and for no bake pumpkin pie, a graham cracker crust is a classic choice. Its buttery sweetness pairs perfectly with the spiced filling. Simply press crushed graham crackers mixed with butter and sugar into a pie pan, and let it set in the fridge.
Looking to switch things up? Oreo crusts add a chocolatey twist, while ginger snap crusts enhance the spiced flavor of the filling. Gluten-free crust options, made from almond flour or gluten-free cookies, are great for those with dietary restrictions.
Sweeteners
Sugar is the standard choice for sweetening the filling, but maple syrup or honey can add a natural touch of sweetness with a hint of complexity. Maple syrup, in particular, enhances the autumn vibe, while honey brings a subtle floral note. Choose your sweetener based on your taste preferences, but always balance it with the spices for a harmonious flavor profile.
Tips for Selecting High-Quality Ingredients
For the best results, always opt for high-quality ingredients. Use 100% pure pumpkin puree without added sugar or preservatives. When selecting cream cheese or whipped topping, check the label for fresh, wholesome ingredients. Lastly, freshly ground spices can elevate the flavor, giving your no bake pumpkin pie an irresistible aroma and taste.
Part 4: Step-by-Step Recipe Instructions
How to Make No Bake Pumpkin Pie
Preparation Time and Tools Needed

Crafting the perfect no bake pumpkin pie doesn’t take long—about 15 to 20 minutes of prep time, plus some chilling in the fridge. It’s ideal for when you’re in a rush but still want to impress!
To get started, gather your tools: a mixing bowl for combining ingredients, a whisk for achieving a smooth filling, a spatula for spreading, and, of course, a pie pan to house your delicious creation. These simple kitchen staples are all you need to bring this recipe to life.
Step-by-Step Instructions
1. Preparing the Crust: Pressing and Chilling
Start with your choice of crust—graham cracker, Oreo, or ginger snap. If making a graham cracker crust, mix 1 ½ cups of crushed graham crackers with 6 tablespoons of melted butter and 3 tablespoons of sugar. Press the mixture firmly into your pie pan, ensuring an even layer on the bottom and sides. Chill the crust in the refrigerator for at least 15 minutes to set it firmly. This step prevents crumbling later on!
2. Mixing the Filling: Achieving the Right Consistency
In a mixing bowl, combine 1 can of pumpkin puree, 8 ounces of cream cheese (softened), 1 cup of whipped topping, and ¾ cup of sugar (or your preferred sweetener). Add 1 teaspoon of cinnamon, ½ teaspoon of nutmeg, ¼ teaspoon of ginger, and a pinch of clove for that classic pumpkin spice flavor. Whisk the ingredients until smooth and creamy, ensuring no lumps. The filling should be thick but spreadable. If it’s too runny, chill it for 10 minutes to firm up.
3. Assembling the Pie: Layering the Filling Onto the Crust
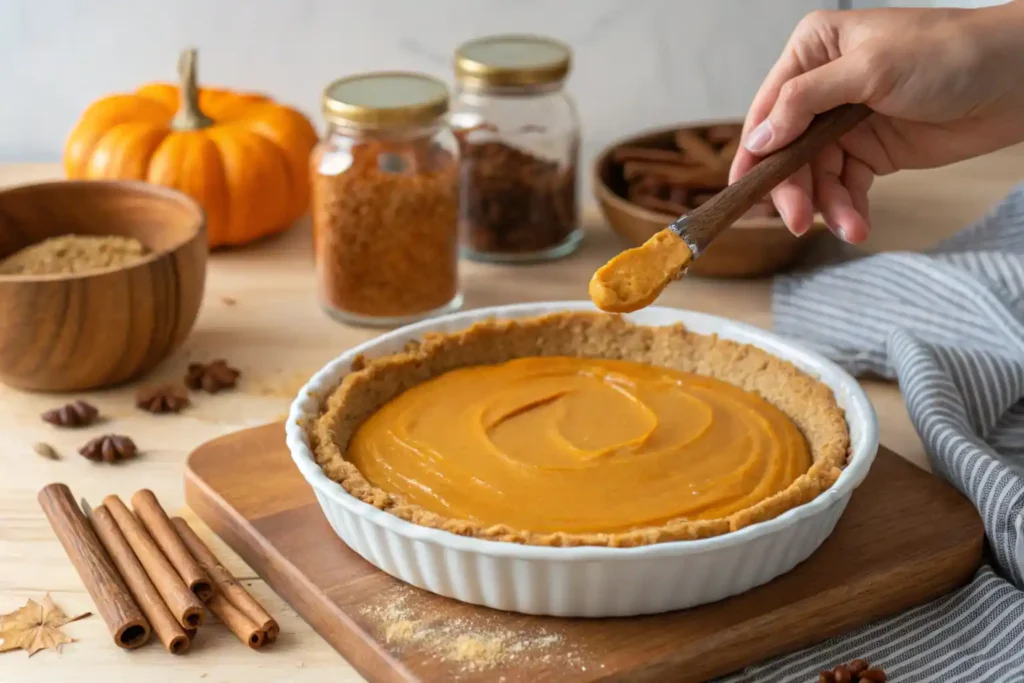
Once your crust is chilled and the filling is ready, spoon the filling onto the crust. Spread it evenly with a spatula, smoothing out the top for a polished look. Don’t rush this step—an even filling ensures the pie looks as good as it tastes!
4. Chilling Time: How Long to Refrigerate for the Best Results
Place the assembled pie in the refrigerator and let it chill for at least 4 hours, though overnight is even better. This gives the filling time to set properly and allows the flavors to meld beautifully.
Tips for Troubleshooting Common Issues
- Runny Filling: If your filling won’t set, try folding in more whipped topping or chilling it longer.
- Crust Crumbles: Press the crust mixture firmly into the pan and ensure it’s chilled before adding the filling.
- Uneven Layers: Use a spatula to smooth the filling evenly across the crust for a uniform appearance.
Part 5: Variations and Customizations
Creative Twists on No Bake Pumpkin Pie
Gluten-Free and Dairy-Free Options
Making a no bake pumpkin pie that suits dietary needs is easier than you think. For a gluten-free version, swap out the graham crackers for gluten-free cookies or almond flour crust. For dairy-free alternatives, use coconut cream instead of whipped topping and a dairy-free cream cheese substitute. These tweaks don’t compromise flavor or texture, so everyone can enjoy a slice!
Unique Flavor Additions
Take your pie to the next level with fun additions! Mix in chocolate chips for a delightful crunch, drizzle caramel sauce over the top for a decadent touch, or sprinkle chopped pecans for extra texture. You could even layer the pie with a chocolate ganache base before adding the filling for a dessert that’s downright irresistible.
Serving Suggestions
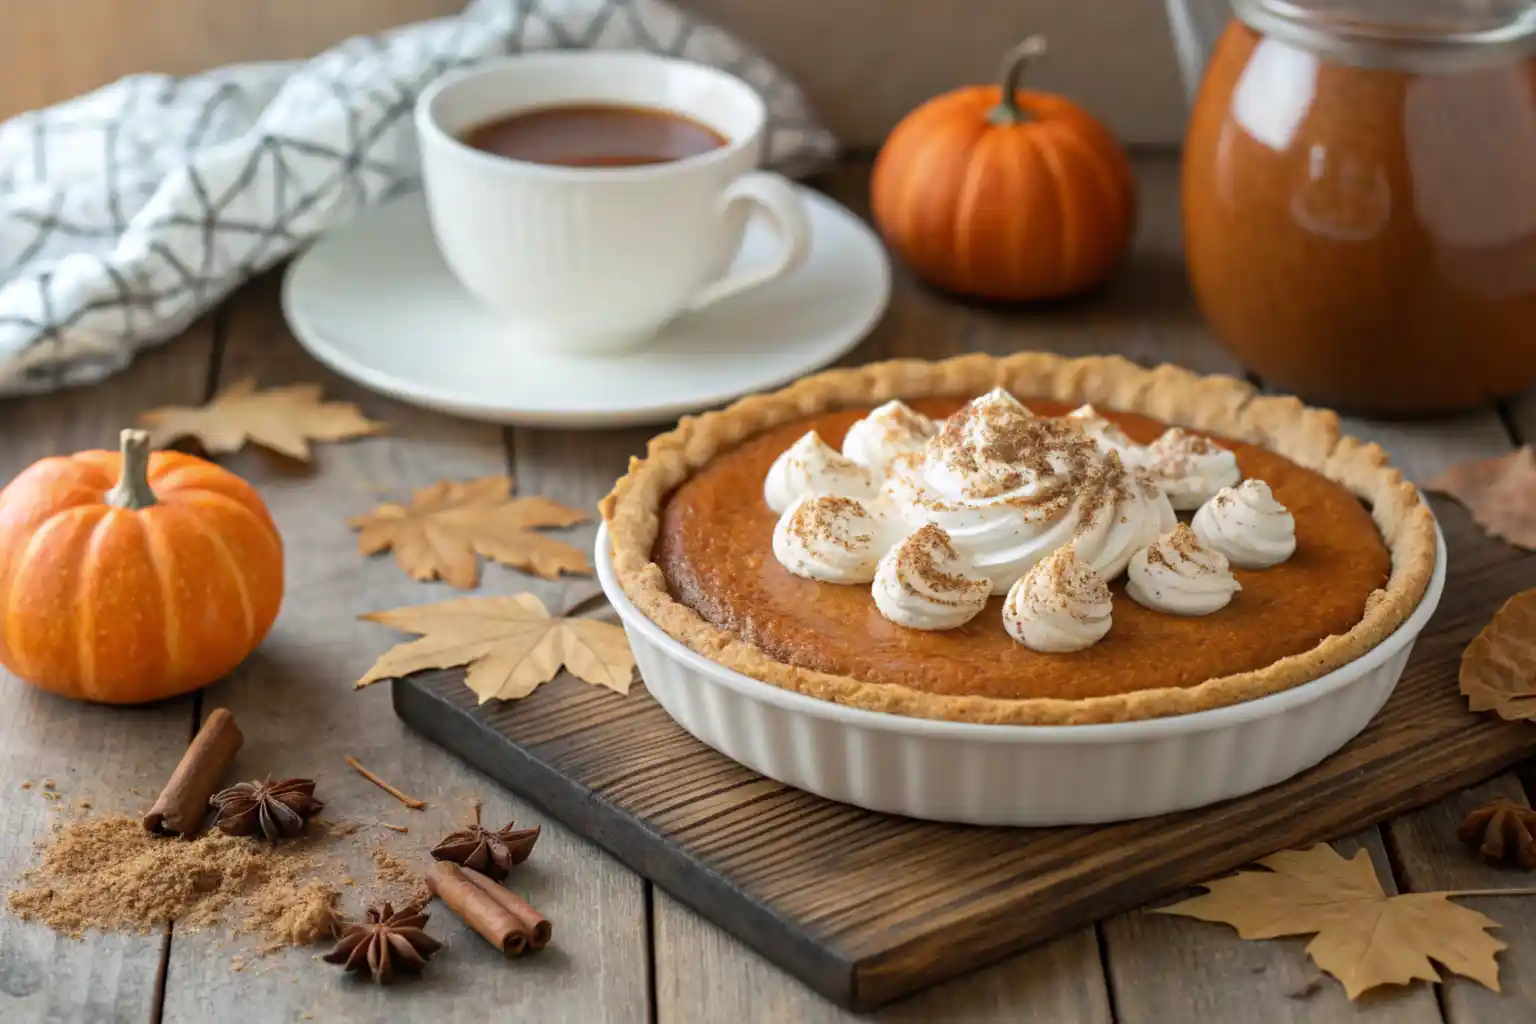
Presentation matters, and a well-decorated pie is as delightful to look at as it is to eat. Top your pie with swirls of whipped cream, a dusting of cinnamon, or a scattering of toasted nuts for added flair. Pair your dessert with a steaming cup of coffee or hot apple cider to complement the autumn flavors.
Tips for Bite-Sized Treats
For individual servings, turn your no bake pumpkin pie into mini desserts! Use muffin tins or small mason jars as containers, layering crust and filling for adorable pie cups. They’re perfect for parties, easy to serve, and just as delicious.
Part 6: Benefits of No Bake Pumpkin Pie
Why Choose No Bake Pumpkin Pie for Your Next Dessert?
Convenience
A no bake pumpkin pie saves time and energy. No need to preheat an oven or monitor baking times—just mix, assemble, and chill. This makes it a great choice for busy days or last-minute dessert prep!
Healthier Options
When you make your own pie, you can control the sugar and fat content. Substitute sugar with natural sweeteners like honey or maple syrup, or use low-fat cream cheese for a lighter filling. These simple changes can transform your pie into a healthier treat.
Crowd-Pleasing Appeal
No bake desserts are perfect for gatherings and potlucks. This pumpkin pie’s creamy texture and spiced flavors are sure to impress any crowd. Plus, it’s easy to make in advance and transport to events.
Environmental Benefits
Because it skips the oven, a no bake pumpkin pie reduces energy consumption, making it an eco-friendly dessert option. Who knew saving the planet could taste so good?
Long Shelf Life
Stored in the refrigerator, this pie can last for up to 4 days, making it a practical choice for leftovers. It’s just as delicious on day four as it is on day one!
Part 7: Storing and Freezing Tips
How to Store and Preserve No Bake Pumpkin Pie
Refrigeration
Proper storage ensures your no bake pumpkin pie remains fresh and flavorful. In the refrigerator, this pie can last up to 4 days when covered tightly with plastic wrap or stored in an airtight container. The cold temperature keeps the creamy filling firm and the crust from softening.
Freezing
Freezing no bake pumpkin pie is a great option for making it ahead of time. To freeze without compromising its texture, wrap the pie tightly in plastic wrap, then add a layer of aluminum foil for extra protection. This helps maintain freshness for up to 2 months.
Best Containers for Storing and Preventing Freezer Burn
Use a pie pan with a fitted lid or place the pie in a large freezer-safe container. If you’ve made individual servings, opt for small, lidded mason jars or silicone molds. These containers prevent freezer burn and maintain the pie’s smooth texture.
How to Thaw and Serve Frozen Pie
To thaw, transfer the pie to the refrigerator and let it sit overnight. Avoid microwaving as it could ruin the texture. Once thawed, garnish as desired with whipped cream or cinnamon before serving. Enjoy it cold for the best flavor and consistency!
Part 8: Common Mistakes to Avoid
Avoid These Pitfalls When Making No Bake Pumpkin Pie
Overmixing the Filling
One common mistake is overmixing the filling, which can result in a runny or overly soft texture. To avoid this, mix just until the ingredients are well-combined and smooth. Excessive whipping can break down the cream cheese or whipped topping.
Using the Wrong Type of Crust
While a graham cracker crust is the go-to, some substitutes, like crumbly cookies, might not hold up well. Choose crusts that are sturdy enough to support the filling and avoid using crusts that crumble too easily when sliced.
Not Allowing Enough Chilling Time
Skipping or shortening the chilling time can lead to a pie that doesn’t set properly. Be patient and let your pie refrigerate for at least 4 hours—overnight is even better for the perfect consistency.
Choosing Low-Quality Ingredients
Ingredients matter! Using subpar pumpkin puree, spices, or cream cheese can result in a lackluster flavor. Opt for fresh spices and pure pumpkin puree for the best taste and texture.
How to Fix Common Issues if They Occur
- Runny filling: Add more whipped topping or chill longer to firm it up.
- Crumbly crust: Re-press the crust into the pan and chill it for longer before adding the filling.
- Uneven filling: Use a spatula to smooth the filling evenly and add extra toppings for an attractive finish.
Part 9: FAQs About No Bake Pumpkin Pie
Frequently Asked Questions
Can I use fresh pumpkin instead of canned?
Yes! Fresh pumpkin can be used, but it requires more prep. Roast or steam the pumpkin, then puree it until smooth. Make sure to strain out excess liquid for a similar consistency to canned pumpkin.
Can I make no bake pumpkin pie ahead of time?
Absolutely! This pie is perfect for prepping in advance. Assemble and chill the pie a day before serving. Store it in the refrigerator, covered, to maintain its freshness and flavor.
How do I fix a runny filling?
If your filling turns out runny, add more whipped topping or cream cheese to thicken it. Alternatively, let the filling chill longer—it often firms up as it sets.
Is no bake pumpkin pie suitable for vegans?
Yes, with a few swaps. Use dairy-free cream cheese and coconut cream instead of whipped topping. Make sure your crust is vegan-friendly as well. These changes ensure the pie is just as creamy and delicious.
Can I make mini no bake pumpkin pies?
Definitely! Use muffin tins or small jars to create individual servings. Layer the crust and filling in each cup, and chill as usual. These mini pies are great for portion control and are perfect for parties or potlucks!
Part 10: Conclusion and Final Thoughts
Wrap-Up: Why No Bake Pumpkin Pie is the Perfect Dessert
A no bake pumpkin pie is a true showstopper. Its creamy filling, infused with warm spices, paired with a buttery crust, makes it a perfect fall dessert. Whether you’re hosting a family dinner, celebrating Thanksgiving, or simply treating yourself, this pie is a crowd-pleaser that’s quick, easy, and versatile.
Not only is it convenient to make, but it also allows room for creativity. From gluten-free crusts to mini pie variations, there’s something for everyone. Plus, the ability to prepare it in advance means less stress on the big day.
So, what are you waiting for? Try this recipe today, and don’t forget to share your delicious creations with friends and family. Pin it, bookmark it, or even print it out—you won’t regret adding this dessert to your fall repertoire!
External Links :Graham Cracker Crust Recipe

